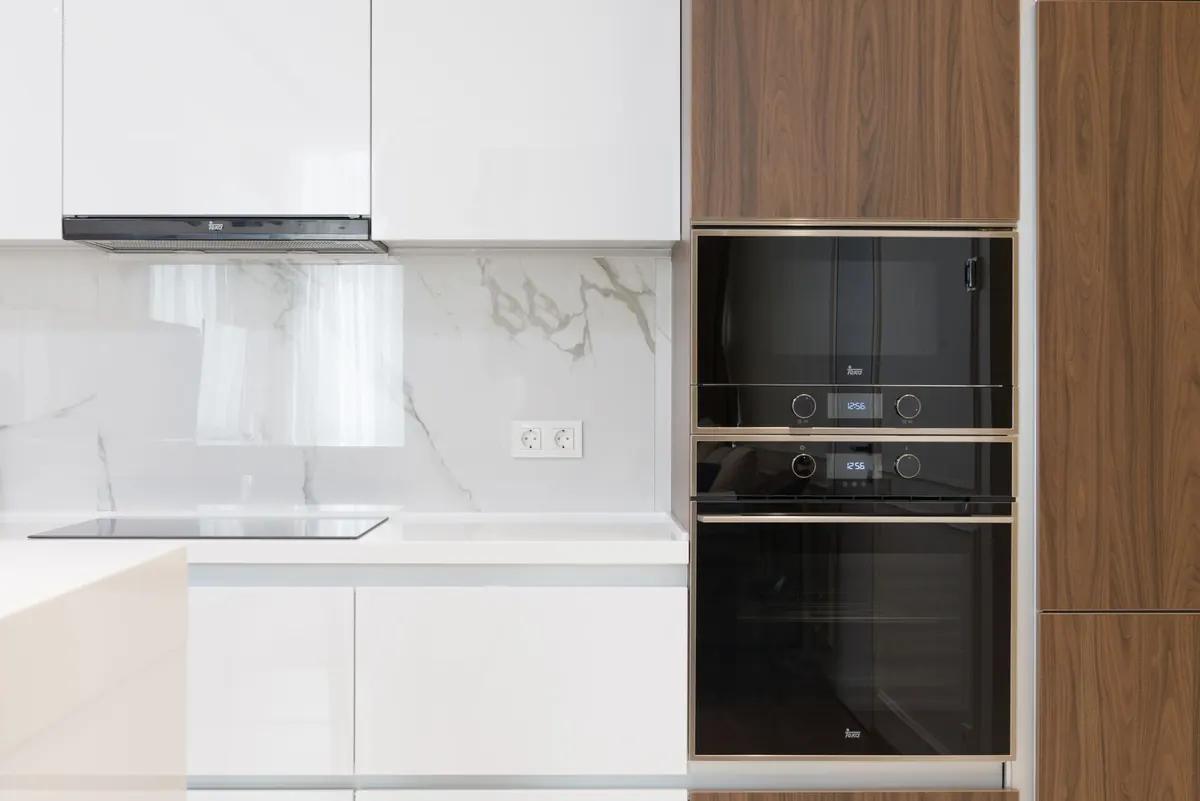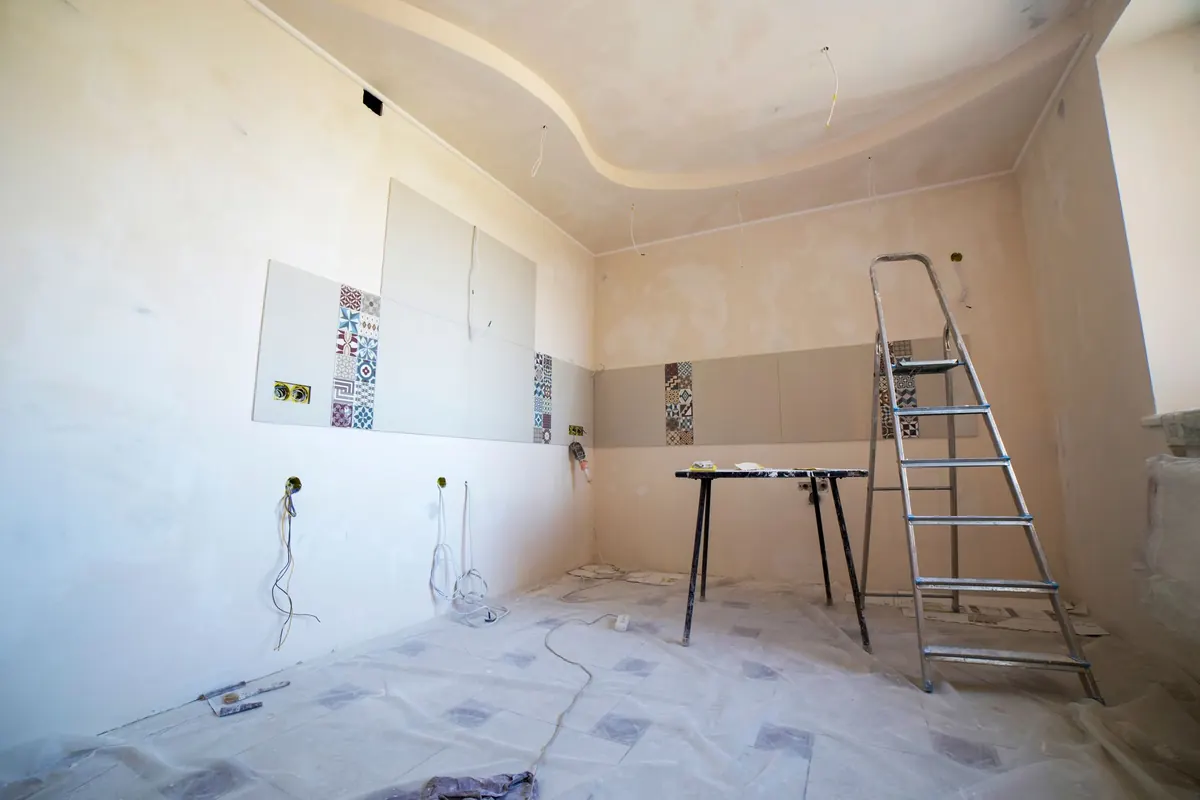
A kitchen renovation runs on a rhythm, and once you know it, most of the stress disappears. The early weeks are quiet — drawings, samples, decisions. Then the house fills with noise and dust for a fortnight, goes silent again while you wait for a worktop template, and finishes while you're still eating dinner off a camping table. Here's how a typical mid-sized project unfolds, week by week.
Weeks 1–2: Design, Survey and Decisions
This stage looks slow and matters more than any other. Someone measures the room properly — walls, ceiling height, window reveals, door swings, and where the soil pipe actually runs. A designer turns that into a layout, usually with a couple of options: galley, L-shape, island or peninsula.
The work triangle still holds up. Sink, hob and fridge should form a comfortable circuit without a doorway cutting through it, and you want landing space on both sides of the hob and the sink. If you're removing a wall or changing a structural opening, this is when you bring in a structural engineer and check what building control or your local authority needs from you. For anything structural, party-wall related or lease-restricted, get proper professional advice before a single tile comes off.
Decisions made in these two weeks control everything downstream. Changing your mind about an oven model in week seven can add weeks to the job.
- Appliance models and exact dimensions — fridge, oven, hob, extractor, dishwasher
- Sink, tap and whether you want filtered or boiling water
- Cabinet door style, colour and handle choice
- Worktop material, thickness and edge profile
- Flooring type, and whether underfloor heating is going in
- Lighting plan: task, ambient and where the sockets go
- Bin, recycling and pantry storage
Weeks 3–6: Ordering and the Waiting Room
Nothing visible happens here, which is why people underestimate it. Lead times vary enormously by supplier and product: standard cabinets might arrive in a few weeks, bespoke joinery and some European appliance brands take considerably longer. Ask for the lead time in writing, then ask again two weeks later to confirm it hasn't slipped.
Worktops are the classic trap. Stone and solid-surface tops are templated after the cabinets are installed and level, then fabricated and fitted a week or two later. So the worktop is not a week-one order — it's a week-ten order, and your sink and hob need to be on site for the template.
Book your trades now too: electrician, plumber, plasterer, tiler, floor fitter. Good ones are busy, and a two-week gap between first fix and plaster because nobody's free is the most common cause of a slipped timeline.
Don't book the skip or start demolition until you have a confirmed delivery date for the cabinets.
Week 7: Demolition and Strip-Out
A straightforward kitchen takes two to four days to strip. Old units out, worktops off, tiles chipped, flooring up, and the plaster often comes away with it. Protect the route from the front door to the kitchen — stairs and hallways take more damage than the kitchen itself. Zip-up plastic doorways and a decent extractor fan are worth the money.
Expect surprises. Rotten floorboards under the sink, wiring that predates the colour coding, a wall that isn't where the drawing said it was, or pipework running exactly where the new cabinet needs to go. Budget a contingency for this.
One serious note: if your home was built or refurbished before 2000, suspect materials such as old floor tiles, board and textured coatings may contain asbestos. Don't drill, sand or break them up. Stop and get a proper survey from a qualified contractor.
Weeks 8–9: First Fix, Plaster and Floor
Now the house gets loud and technical. The electrician runs new circuits and cable for sockets, appliance isolators, under-cabinet lighting and the extractor. The plumber sets pipe runs for the sink, dishwasher and any new radiator, and the extractor duct is routed outside. Nothing is connected yet — that's second fix.
Then the room is plastered or drylined and left to dry. Don't rush this. Painting a damp wall traps moisture and shows through. Once dry, the floor goes down and the walls and ceiling get decorated, ideally before the cabinets arrive so you're not cutting in around them.
Weeks 10–11: Installation and Second Fix
Cabinets go in first: carcasses levelled, packed and scribed to the walls, which are never truly square. Doors and drawers follow. Then the electrician and plumber return for second fix — sockets, switches, sink, tap, waste, dishwasher and hob connections. The extractor is fitted and tested for airflow.
Once the base units are in and level, the worktop is templated. Expect a gap of a week or so before it's fabricated and fitted. Tiling and splashback come after the worktop so the cuts run neatly against the edge, and the final push is sealing, silicone and a very thorough clean.
Week 12: Snagging and the Finish Line
Snagging is the polite word for the list of things that aren't quite right. Walk the room with the fitter, and be methodical rather than apologetic.
- Open and close every door and drawer — check for rubbing, uneven gaps, soft-close working
- Run every appliance through a full cycle, including the dishwasher and extractor
- Test all sockets, switches and under-cabinet lights
- Check silicone lines, tiling alignment and worktop joints
- Look for water where it shouldn't be, under the sink and around the dishwasher
- Confirm the extractor is ducted outside, not just recirculating
Hold back a final payment until the snagging list is done. It's the simplest lever you have, and no reputable installer will object to it being written into the contract.
Keeping the Timeline Realistic
Add a fortnight of slack to whatever schedule you're given. Keep one decisions document — every choice, its date and who signed it off — so nothing gets relitigated in week nine. Nominate one person as the point of contact with the fitter instead of three people giving different answers.
Finally, plan how you'll actually live. A microwave, kettle and washing-up bowl in the bathroom or utility room, and a takeaway budget for the dustiest days, make a genuine difference to how the whole project feels. The timeline is a guide, not a promise — but knowing what's coming next means the delays feel like part of the job rather than a crisis.
Photo: Valentin Ivantsov / Pexels